Installing NetWare/IP 2.2 for NetWare 4.11
I've got a VM running NetWare 4.11. Now I'm trying to install NetWare/IP for the first time in 15 years. I have absolutely no memory of how the install went last time or what was involved (probably a lot of trial and error) so this time I'm screenshotting my way through the process in case I should ever need to do it again.
I'm only installing a single NetWare/IP server here. I do have some NetWare 4.10 licenses so I may eventually install that and setup a second NetWare/IP instance but until then I'm doing the bare minimum to get NetWare/IP working. For more complex setups the documentation should contain all required information.
I'll also be configuring my NetWare/IP instance as a Forwarding Gateway because I've also got a NetWare 3.2 server on the LAN which won't be getting NetWare/IP installed as I don't have a license for the NetWare 3.x version (it was a paid-for add-on for NetWare 3.x). Having my 4.11 server run as a forwarding gateway will allow IP-only clients to access IPX-only servers by routing the traffic via the NetWare 4.11 server which will handle all the necessary protocol conversions.
Contents
Tools
To follow along you'll need:
- A VM with NetWare 4.11 installed. NetWare 4.10 is probably pretty similar but you'll have to download NetWare/IP (grab it from here)
- TCP/IP enabled in NetWare. If its not enabled, this coveres the basic process
- The Netware 4.11 CD-ROM (or an image of it)
Creating the VM and installing NetWare 4.11 are covered in Installing NetWare 4.11 in Linux-KVM. Enabling TCP/IP and binding it to a network interface is covered in Installing the NetWare IPX/IP Gateway but this page covers just the bits that should be required to turn on and bind TCP/IP.
Documentation
NetWare/IP is a relatively complex product to isntall (compared to other NetWare add-ons I've setup so far at least) so having a quick read through the NetWare/IP Administrators Guide is probably worthwhile. I've not found a PDF copy of this but its available in online form on the NetWare 4.11 documentation CD-ROM (you'll need to use DynaText to view it). This article is also pretty handy.
Installing
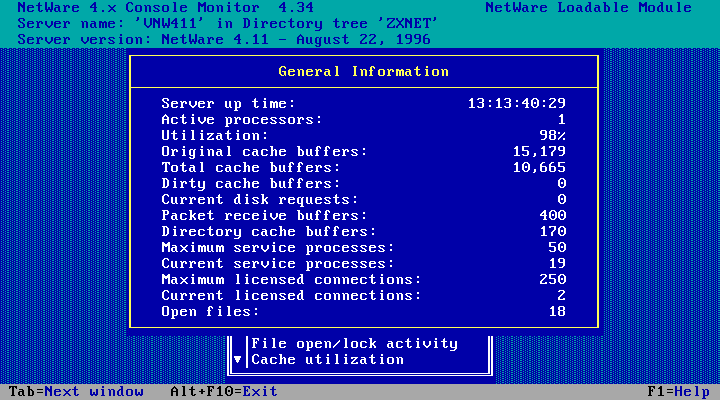
I'm doing this on VNW411, my virtualised NetWare 4.11 server. I've not applied any patches yet.
Mount the NetWare 4.11 install CD-ROM ISO in the virutal machines CD-ROM drive and run cd volume list at the server console to check the CD-ROM is visible.
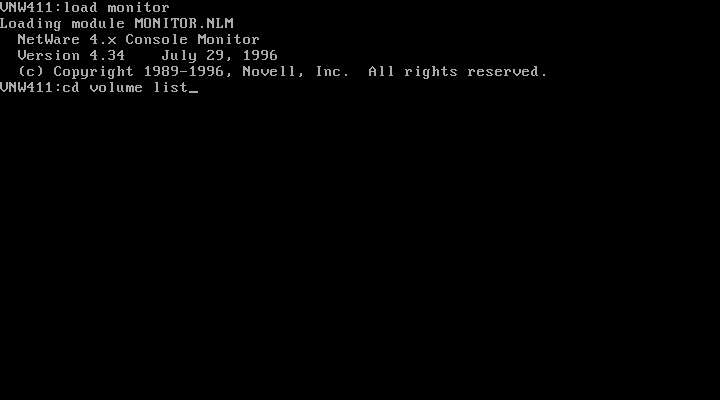
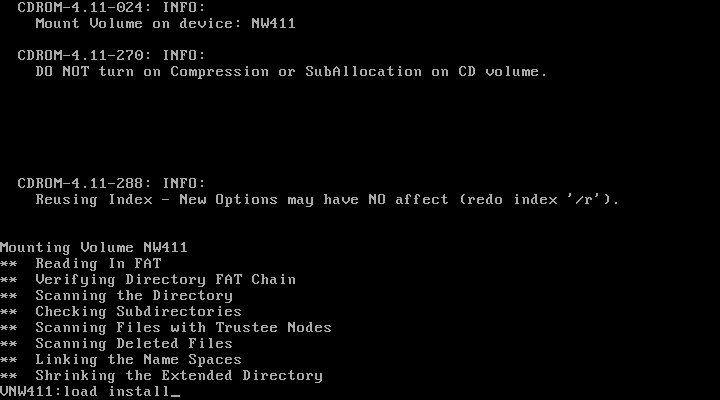
If the NW411 CD appears in the list, run cd mount NW411 to mount it:

Volume mounted! Now as usual, run load install from the server console to start the process:
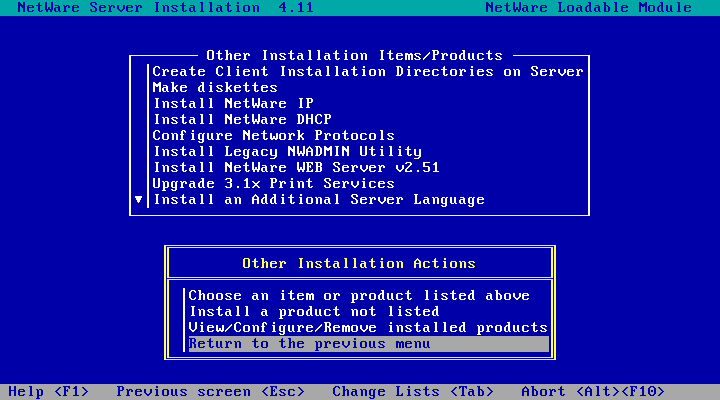
Choose Product Options from the menu

Choose Choose an item or product listed above
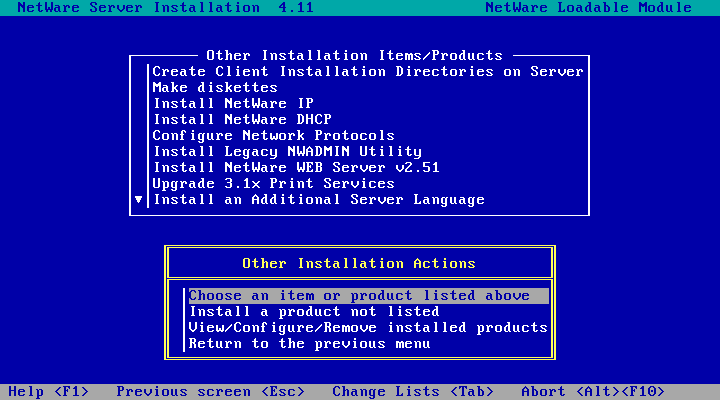
Choose Install NetWare IP
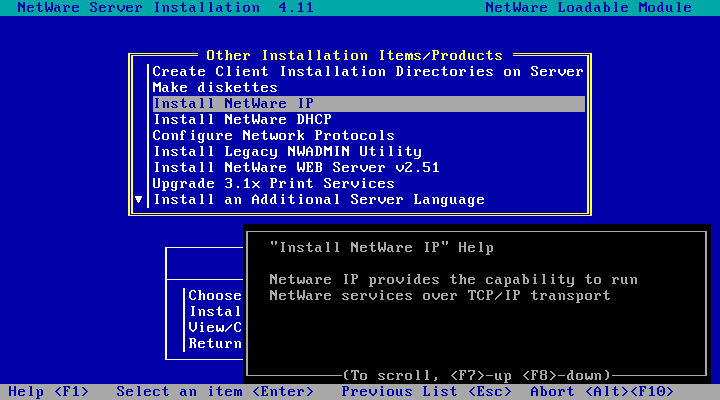
The default path is good - hit enter.

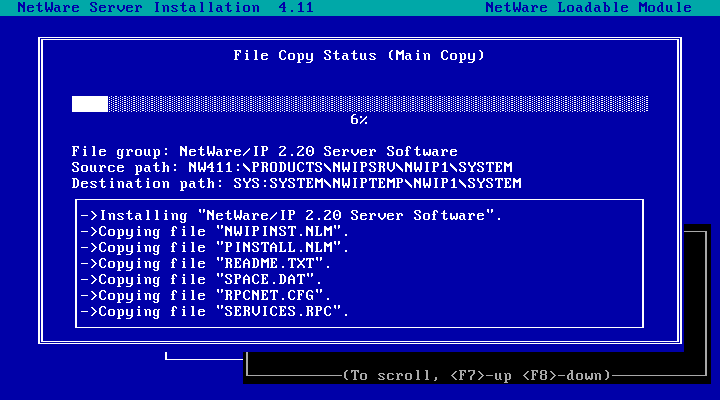
Copying files...
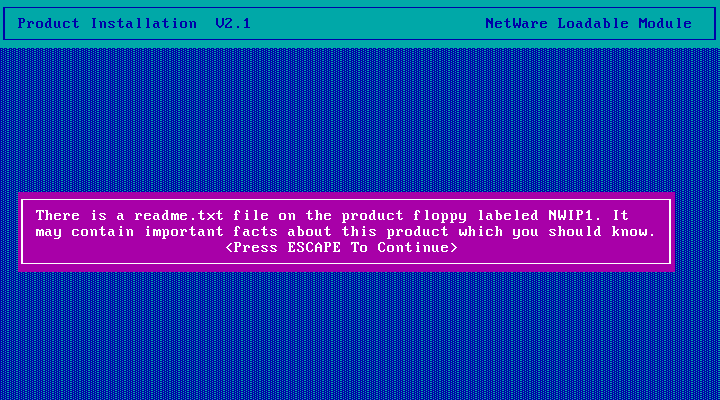
Hit escape to continue...
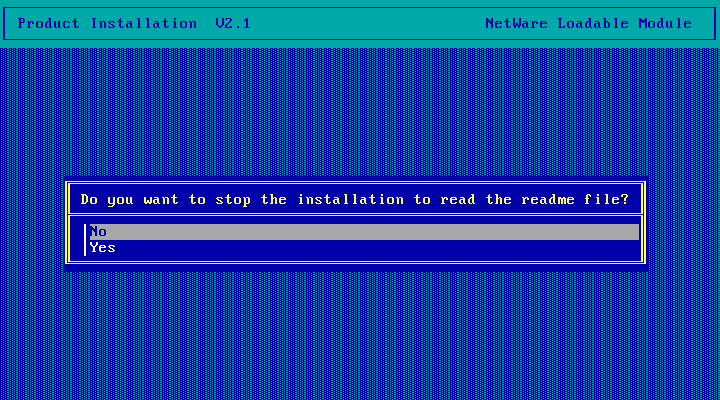
Choose No - we don't want to read the readme.
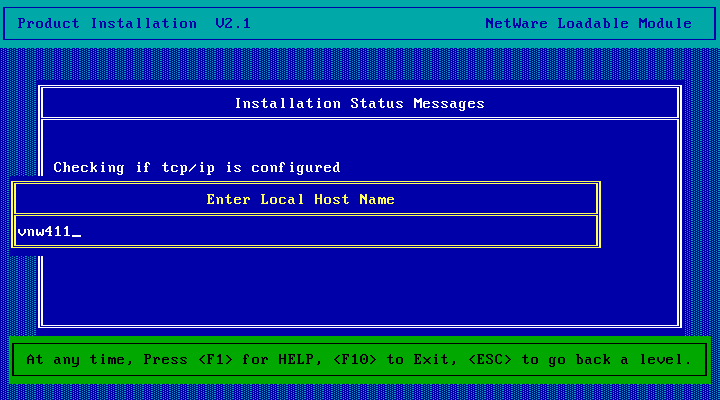
Choose a hostname. The default is the name of the server. Note that we'll be adding a matching DNS entry for this later!
More installing happens...
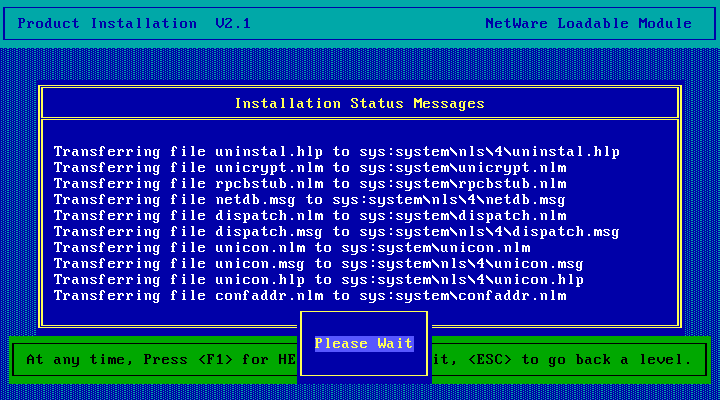
Initial install step finished.
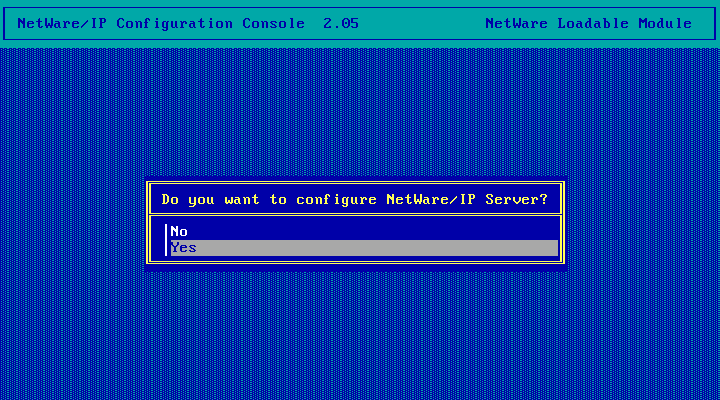
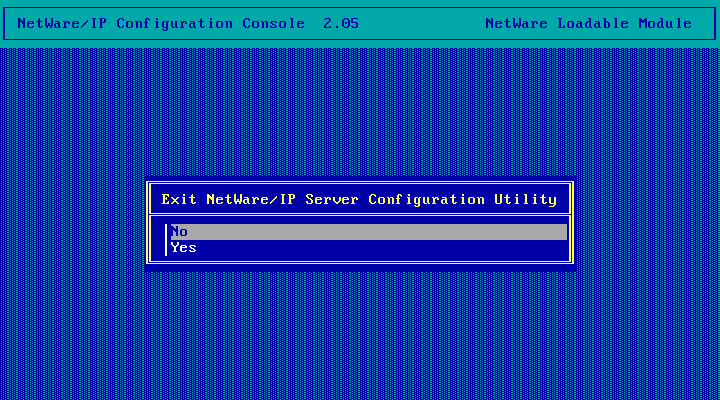
Choose No
Hit Escape to continue.
Choose yes.
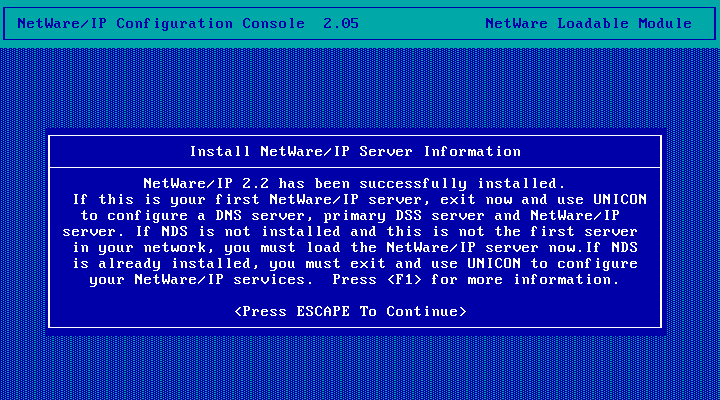
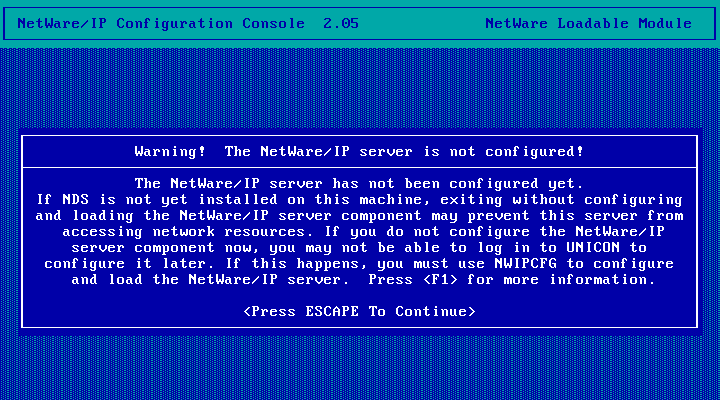
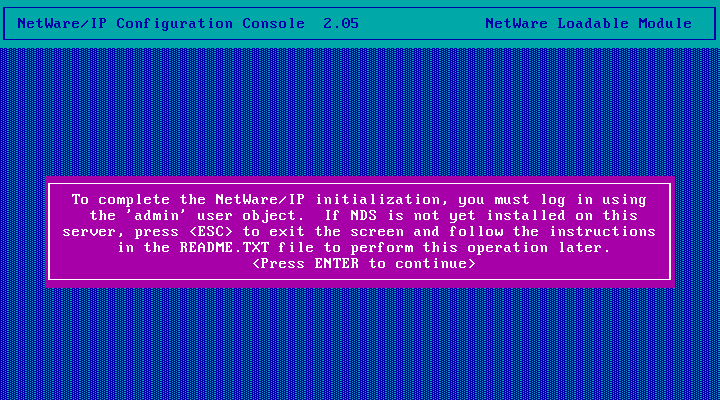
Press Enter to continue. All these warnings and questions about not immediately configuring NetWare/IP are just to do with if you're joining a freshly installed NetWare 4.11 instance to an existing IP-only NDS tree (in which case you'd have to have NetWare/IP configured in order to login as admin in the next step)
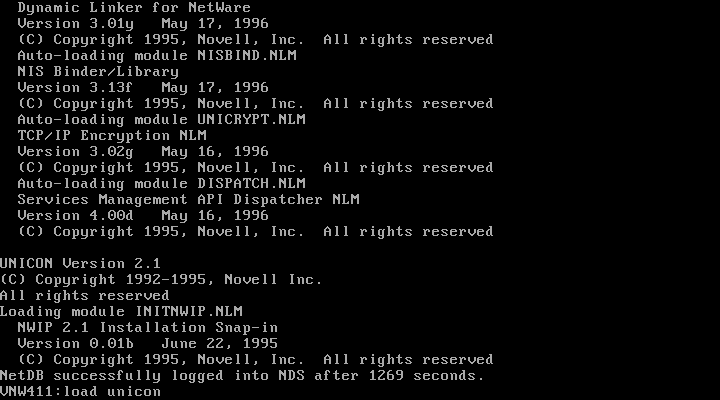
Loading UNICON...
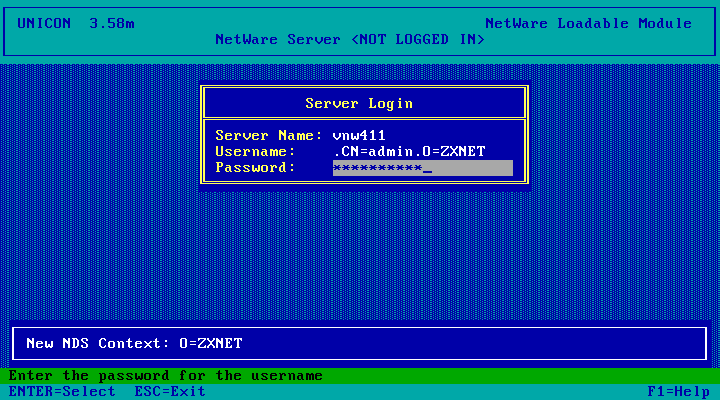
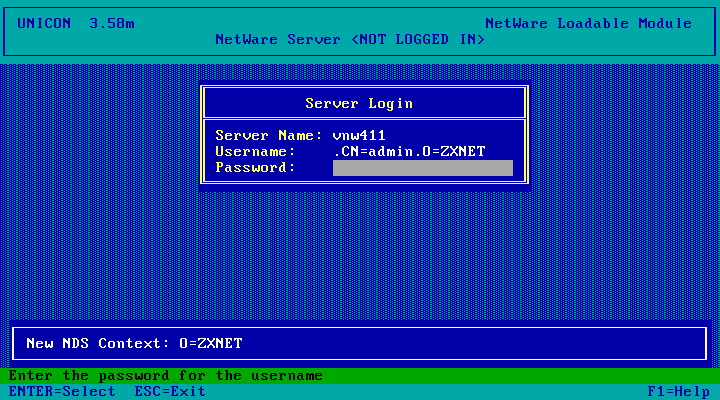
This is where we login as the Admin user!
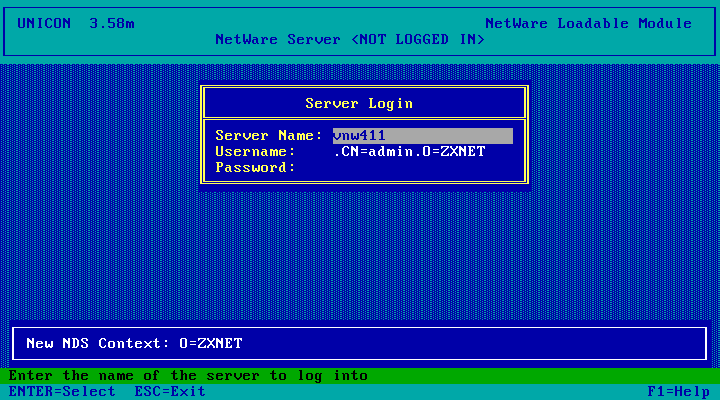
Enter your admin password and hit enter to login
Loggin in...

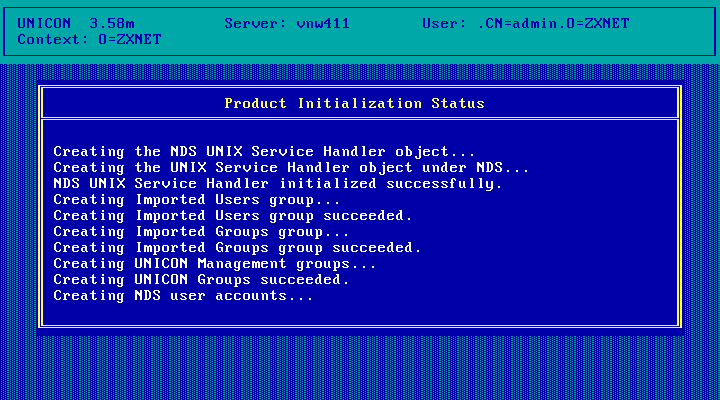
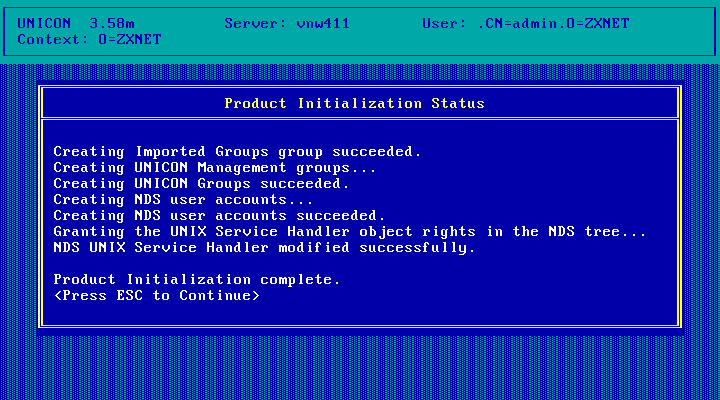
Installing some stuff into NDS...
NDS configuration done! Hit escape to continue.
We're back in the installer. Ignore the instructions to down, exit and reboot the server. Just hit escape to continue.
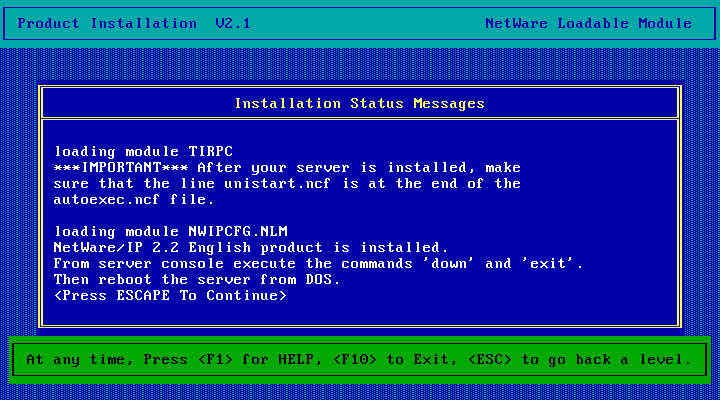
NetWare/IP is now installed! Next comes the hard part - configuring the thing. Hit escape twice and choose Yes to exit INSTALL.
At the server console, run LOAD UNICON:
Login as admin...
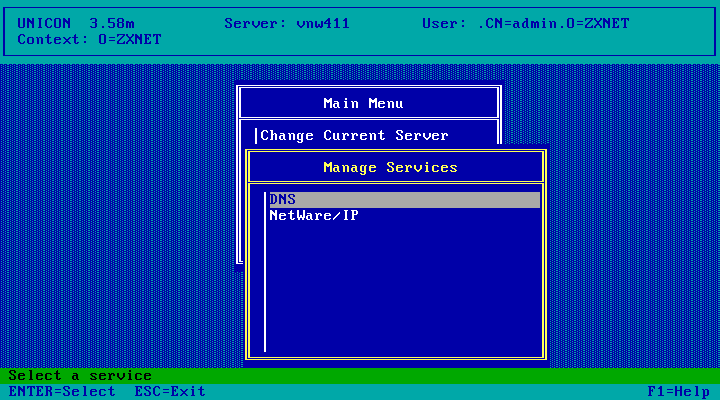
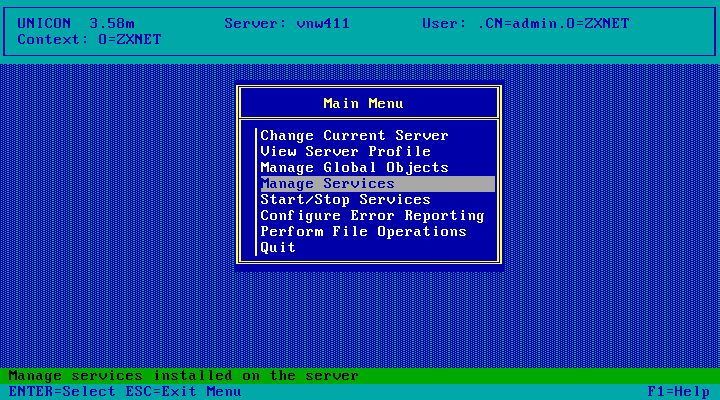
Select Manage Services

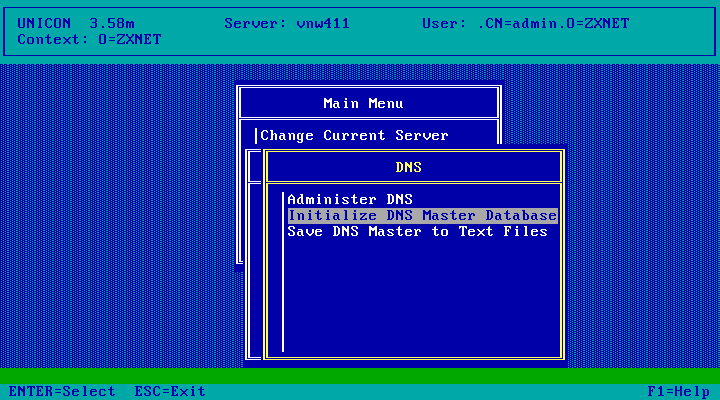
Select DNS
Select Initialize DNS Master Database
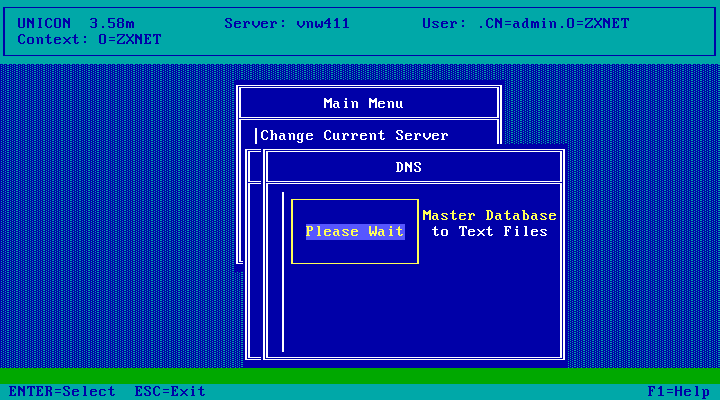
Wait a moment...
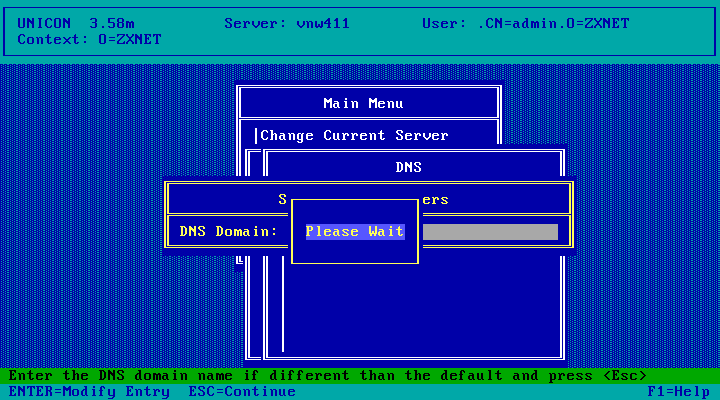
Then we get this screen. This is where things start getting a little more complex. Here we're actually setting up a new DNS server on the NetWare server and this is the DNS Zone the DNS Server is going to be managing. If you don't already have a domain name and DNS server, just enter something like netware.local. You may have set the DNS server manually on your NetWare clients or configure your DHCP server to hand out the netware server as your DNS server though.
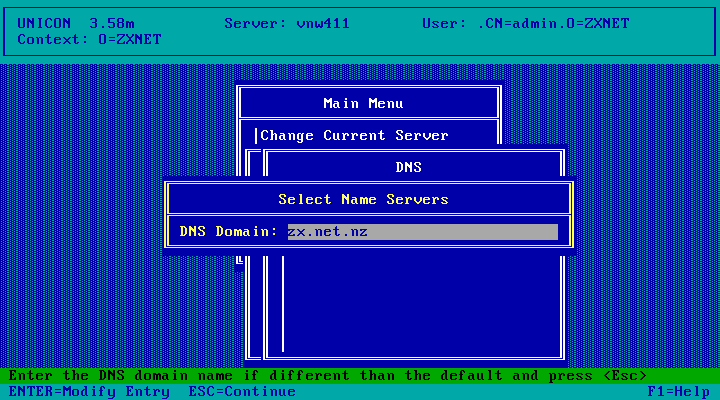
I've already got a domain name which is being managed by public DNS servers. I don't want NetWare running the show so I'm going to enter something different here - nw.zx.net.nz. Once I've finished setting everything up I'm going to setup my internal instance of BIND9 as a secondary nameserver so it can handle lookups for the nw.zx.net.nz. zone without having to adjust DHCP or forward ports to the NetWare DNS server for recursive lookups to work.
Its actually possible to skip this and put everything in your existing DNS server but only if its a real DNS server - something like BIND9 or a hosted DNS (Azure, Dyn, etc). Being able to map hostnames to IPs on your router isn't good enough - NetWare/IP needs NS and SOA records as well as A records in DNS. The reason I'm going ahead with letting NetWare setup its own DNS server is because I don't want all those private NetWare records out in public DNS (not for security reasons - they're private IPs, but just to keep public DNS a bit tidy).

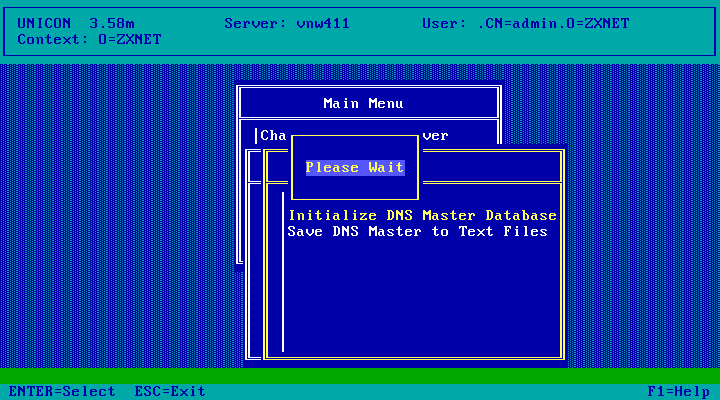
When you hit enter, Please Wait will come up
But the screen doesn't go away. Not sure what the wait is for. Anyway, hit escape to continue.
Wait a moment...
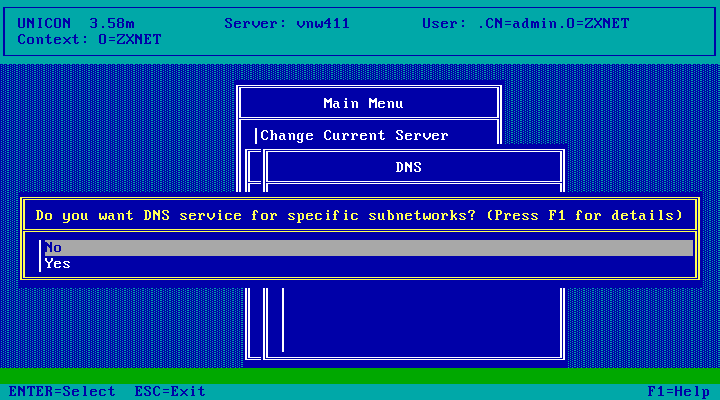
Answer No (unless you want to setup additional subdomains I guess)
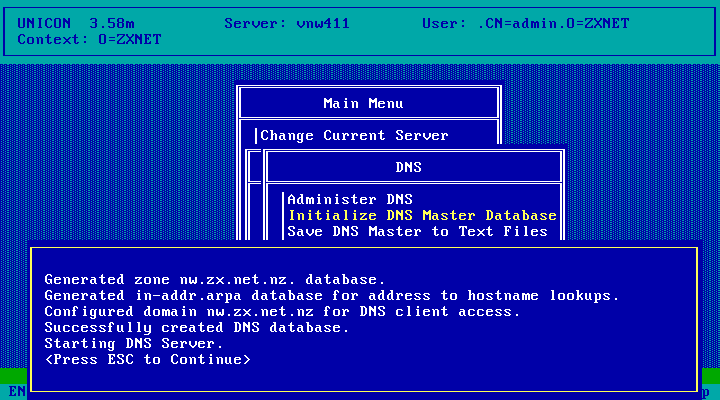
Starting the DNS server...
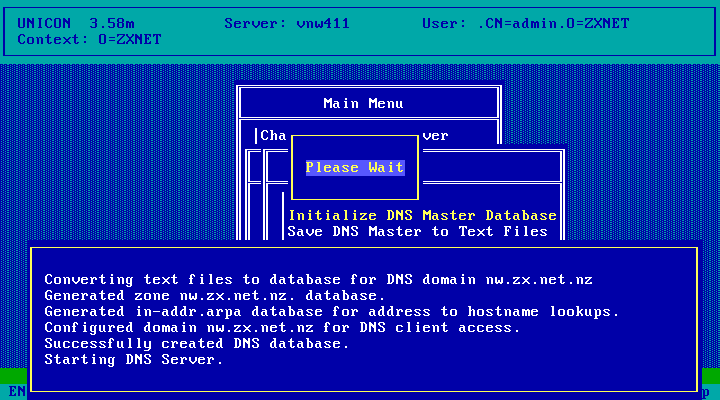
The NetWare DNS Server is up and running! Hit escape to continue.
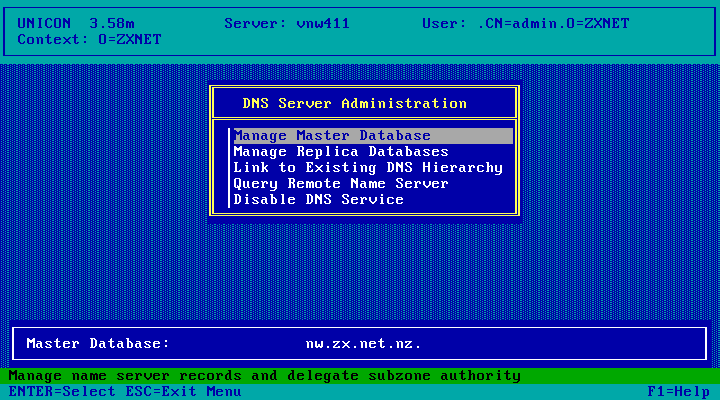
Thats the DNS server sorted. Now choose Administer DNS

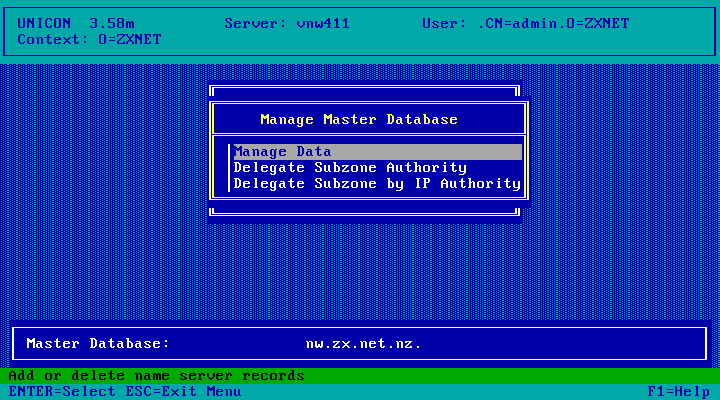
Then choose Manage Master Database
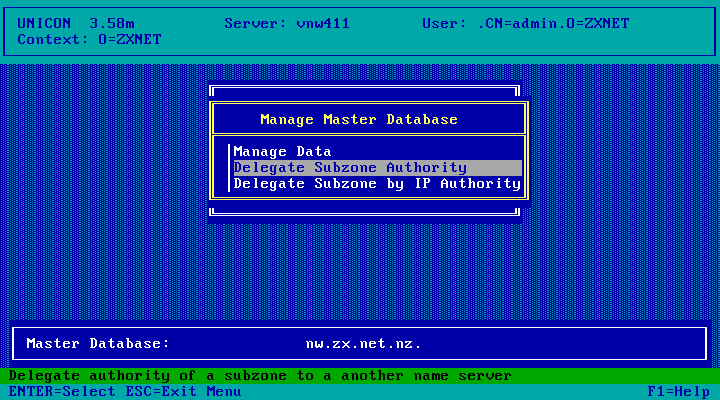
Choose Delegate Subzone Authority
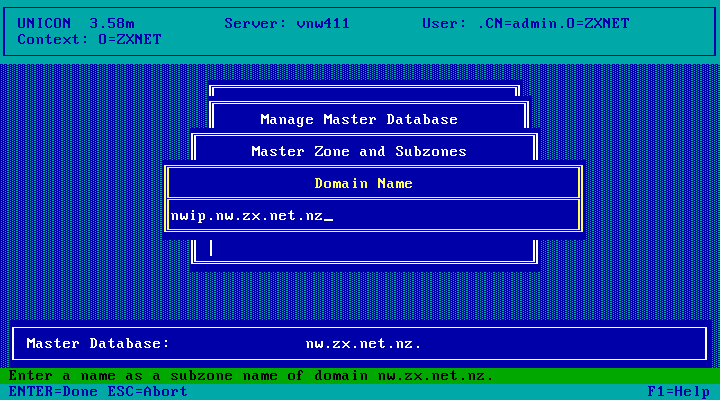
Hit the insert key
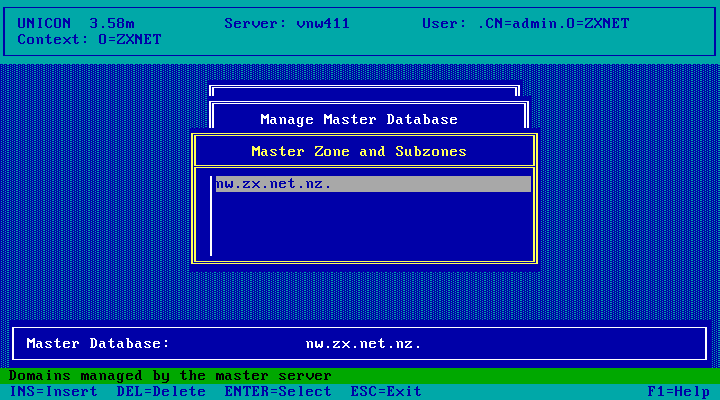
And type in your chosen NetWare/IP Domain Name. This is the domain that will represent all NetWare/IP servers on the network.
From the Available Hosts menu, select your server name and hit enter. The others are just garbage that came with the default HOSTS file that was installed to SYS:/etc/hosts probably by the IPX/IP Gateway product. I guess I'll come back here sometime later and remove them.
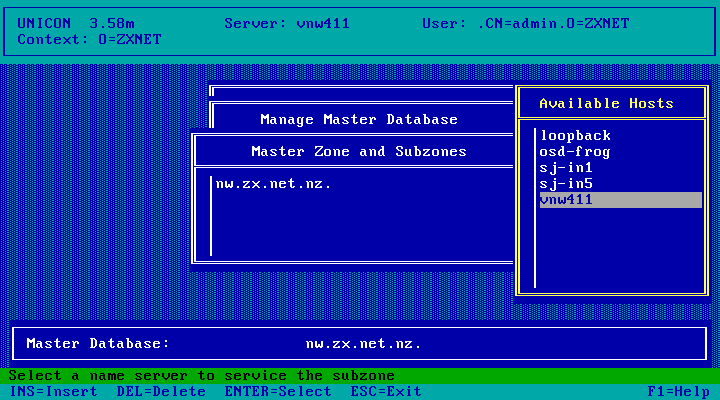
NetWare/IP domain added. Hit escape.

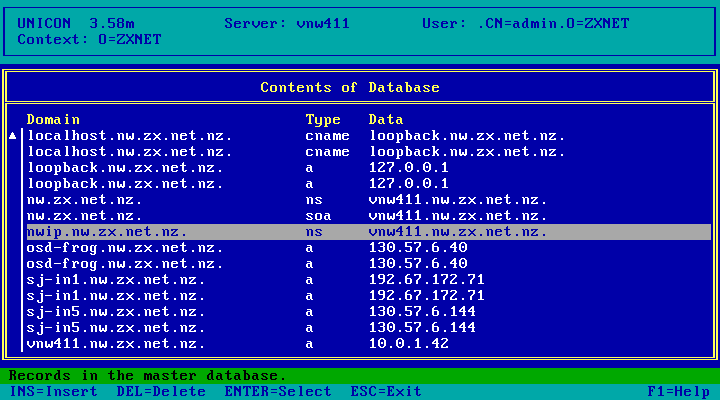
If you select Manage Data...
You can see the NS record that was created (as well as all the garbage that was imported from SYS:/etc/hosts which I could just delete now but I wont). Hit escape to close the list of DNS records.
Hit escape some more until you end up back at the UNICON main menu, then open Manage Services
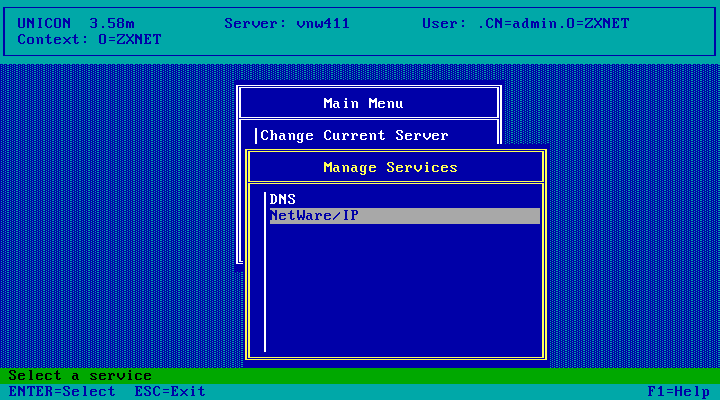
Then choose NetWare/IP
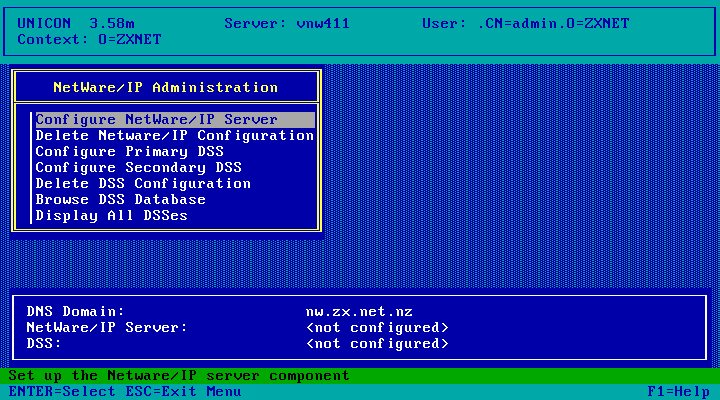
And then Configure NetWare/IP Server
Then we fill out the form!
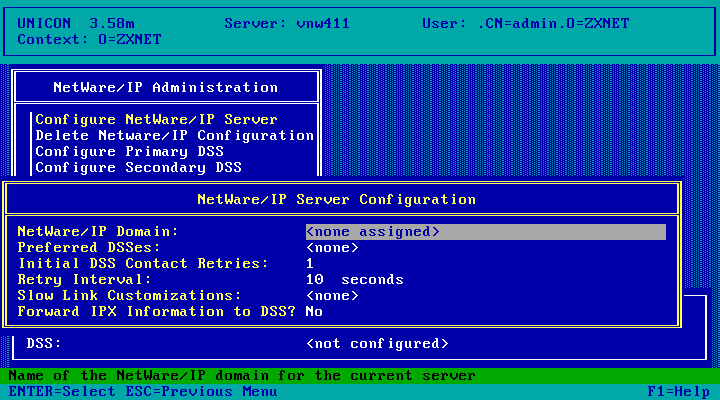
For NetWare/IP Domain, enter the NetWare/IP domain created earlier (nwip.nw.zx.net.nz in my case).
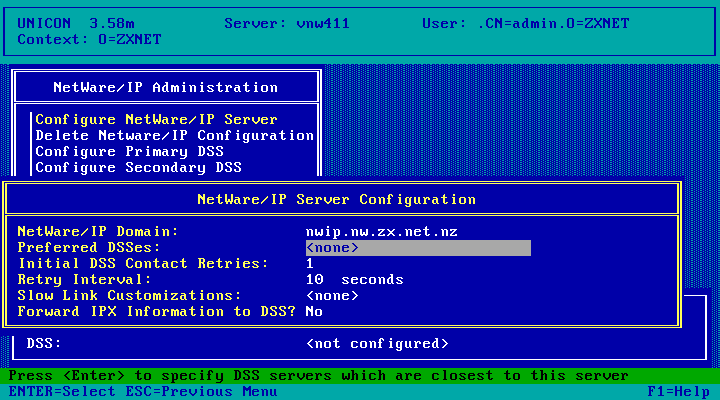
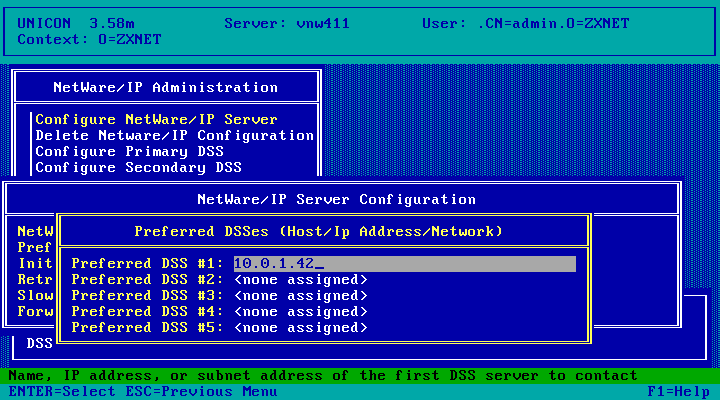
In Preferred DSSes, add the IP address of this NetWare server.
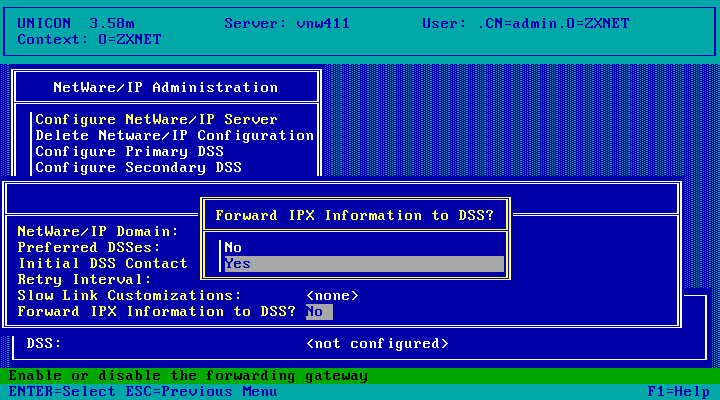
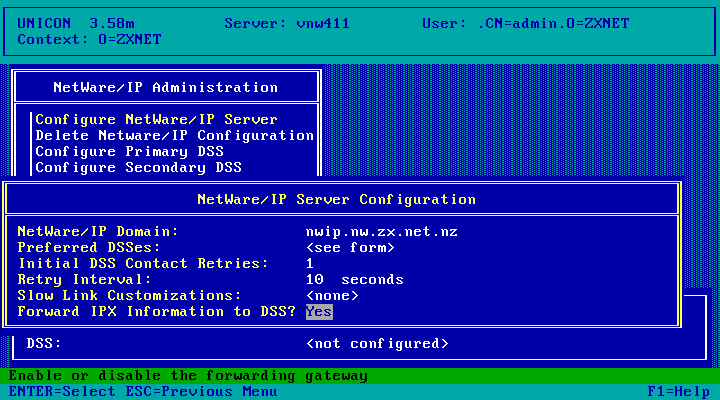
And set Forward IPX Information to DSS to Yes.
Done! Hit escape (and save your changes) to go back to the NetWare/IP Administration menu.
I got this message - perhaps as a result of having the IPX/IP Gateway setup and running. I'll have to check AUTOEXEC.NCF later. Hit escape to continue if you get this.
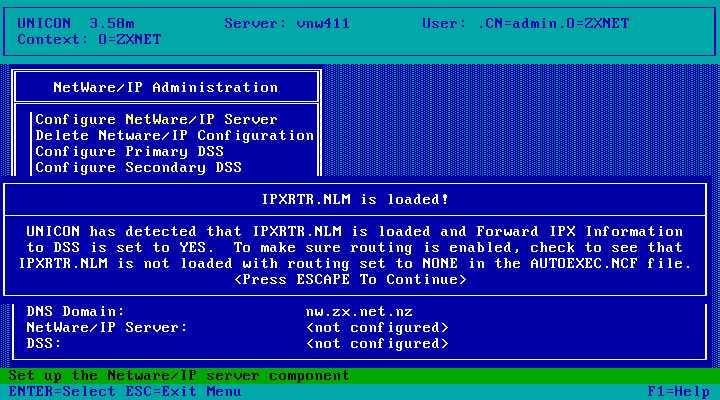
Then chose Configure Primary DSS
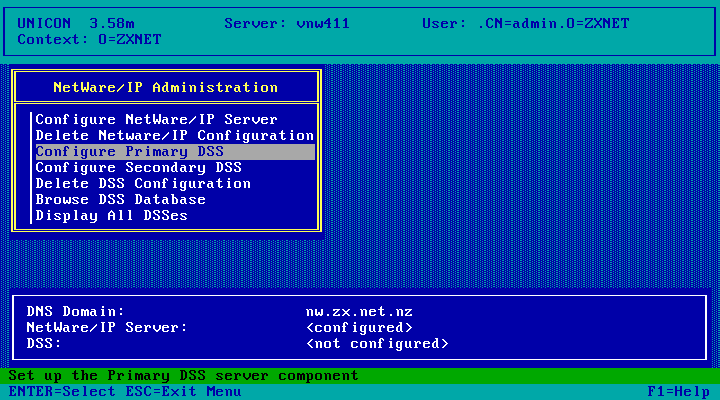
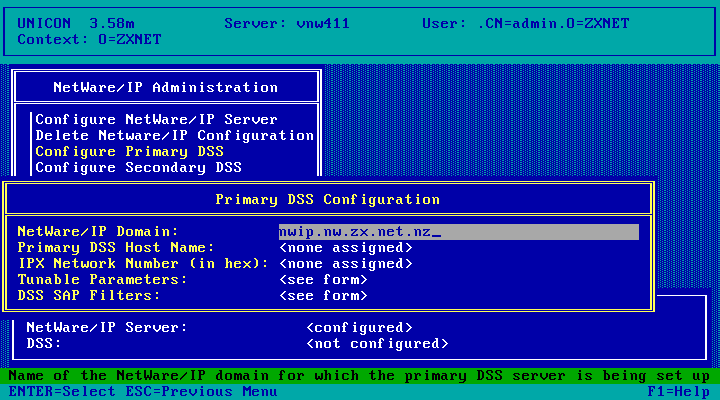
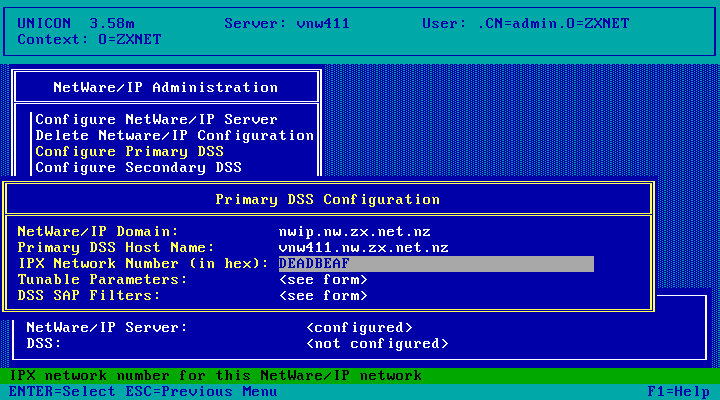
And we get another form to fill.

Set the NetWare/IP Domain to the NetWare/IP domain we created when setting up the DNS server (nwip.nw.zx.net.nz in my case)
For Primary DSS Host Name enter the fully qualified hostname for the server.
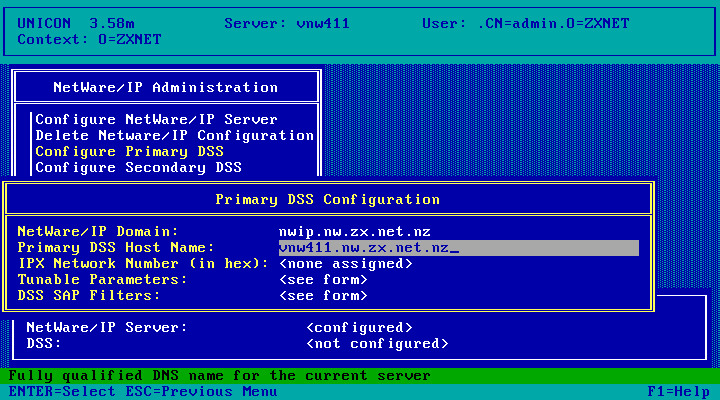
Pick an IPX Network Number. It can be one to eight characters long and you can use the digits 1-9 and A-F. I'm using the example the NetWare 3.12 install manual provided: DEADBEAF.

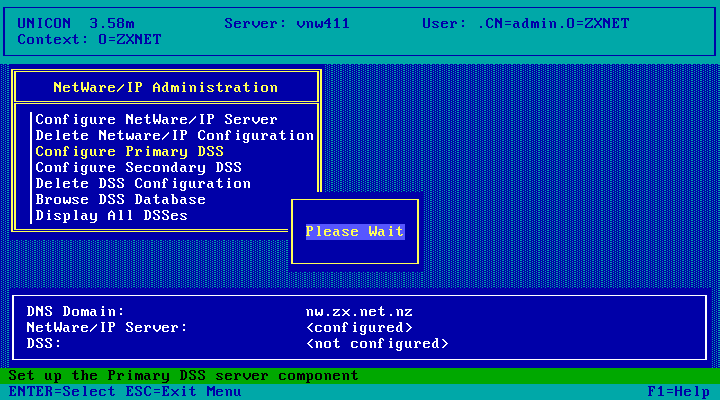
Setup for the DSS server is done! Hit escape and choose Yes to save changes.
Please Wait...
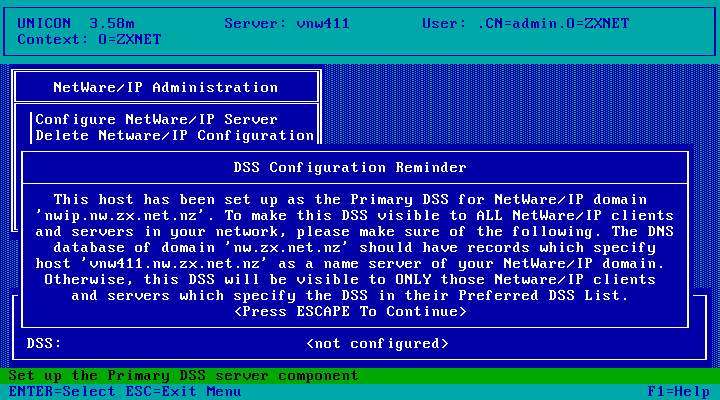
And we get a configuration reminder. We've actually already done this (back when we went into the Master Zone and Subzones menu, added the domain name and assigned it to this server) so hit escape to continue.
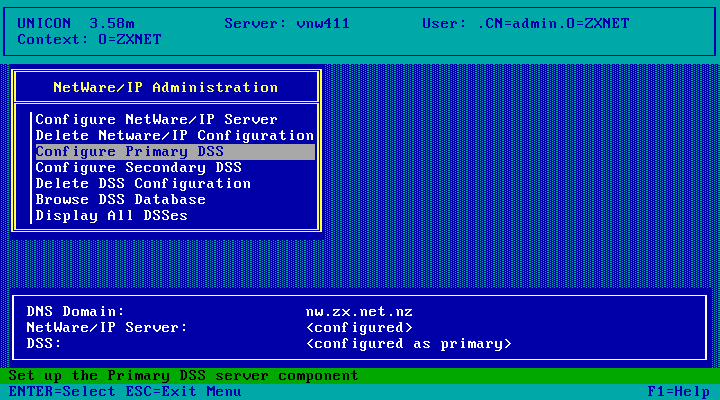
Configuration done! Hit escape twice to go back to the UNICON Main menu.
Then choose Start/Stop Services
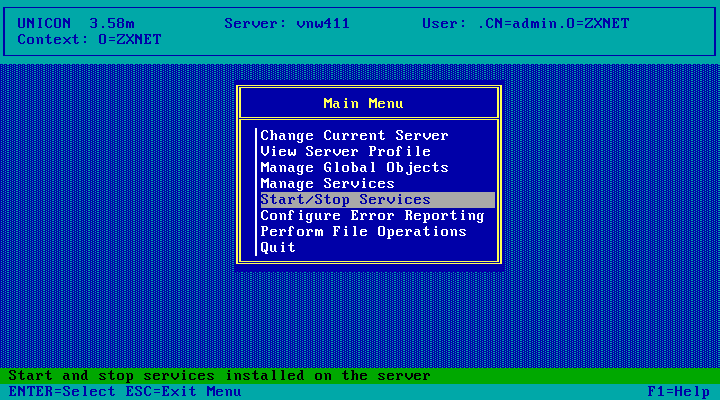
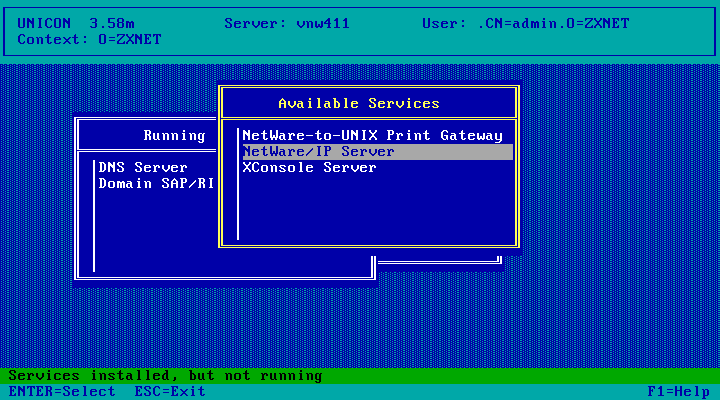
And we get this thing! Not the best user interface. Hit the insert key to insert a running service...
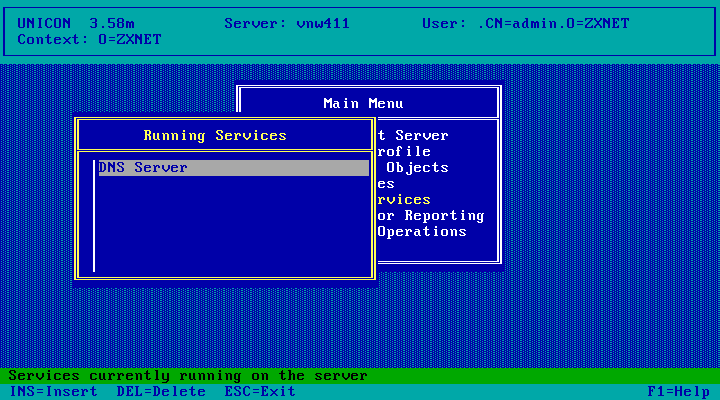
And choose the Domain SAP/RIP Server to insert. I'm not sure why it doesn't just give the full list of avialable services with keys to start/stop them. Inserting services into a list to start them and deleting them from a list to stop them isn't very obvious. Or how anything else does it.
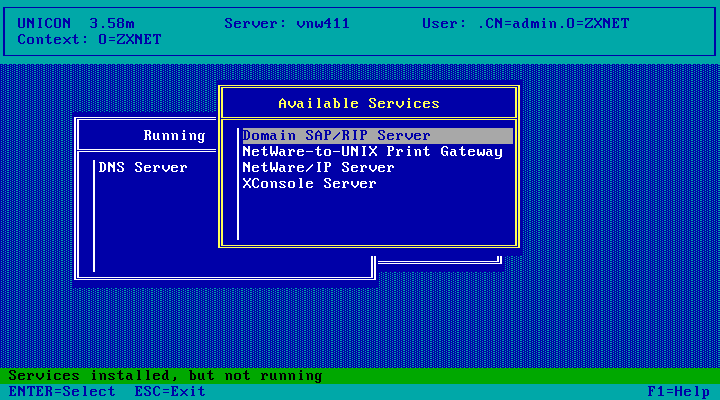
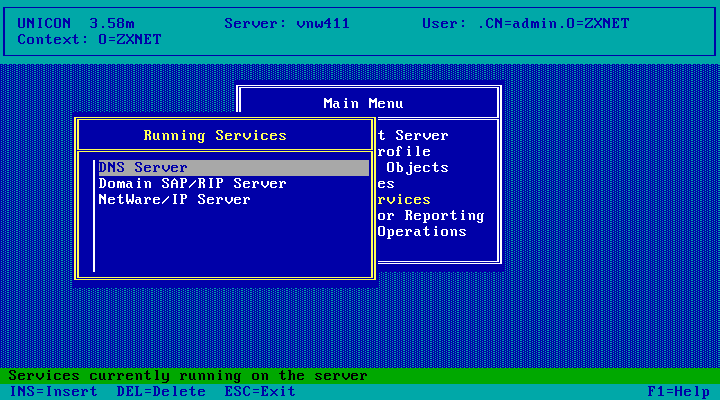
The Domain SAP/RIP Server is now running! This is the DSS Server we configured earlier. Hit insert again to insert another service.
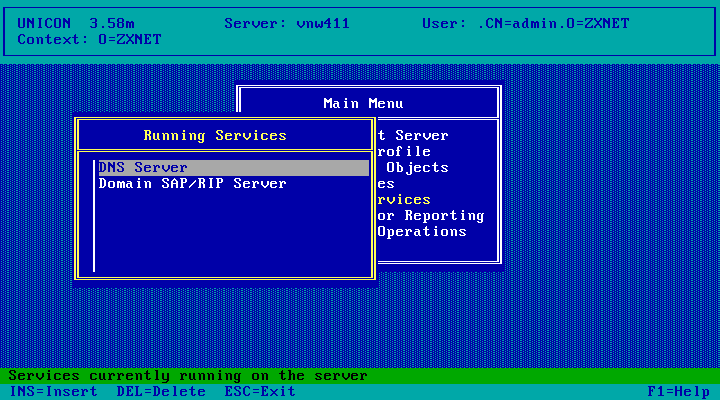
And this time choose NetWare/IP Server
Done! In that list of insertable services you may have noticed XConsole. Thats a telnet server basically - lets you telnet into the NetWare server rather than using RConsole. Not sure what sort of configuration it requires - I should investigate further someday. Anyhow, our work in this list of running services is done. Hit escape.
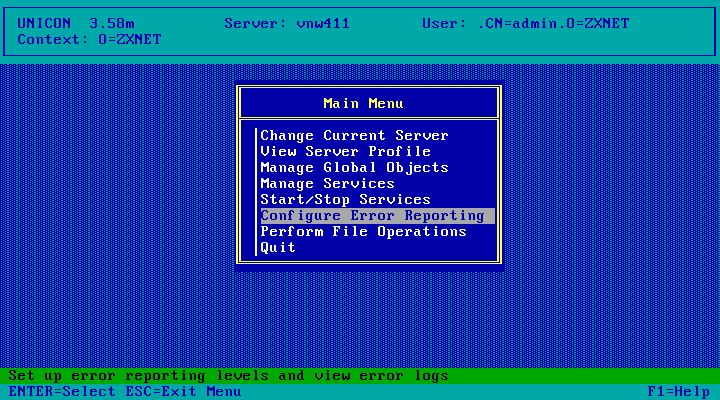
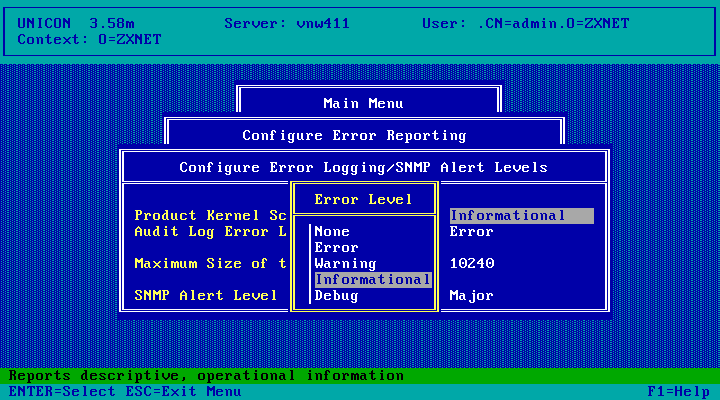
Just in case I got something wrong, I'm going to Configure Error Reporting...
Then Configure Error Logging/SNMP Alert Levels
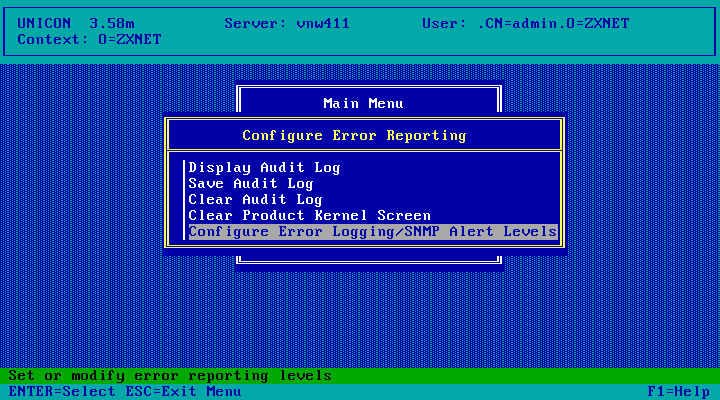
And set the Product Kernel Screen Error Level to something a bit more verbose. I'll start with Informational and come back later if things aren't working quite right to switch it to Debug. Escape twice to get back to the Main Menu when done.
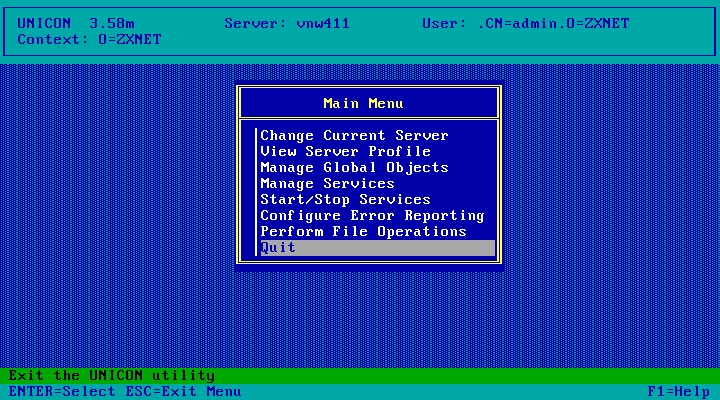
You can now Quit UNICON.
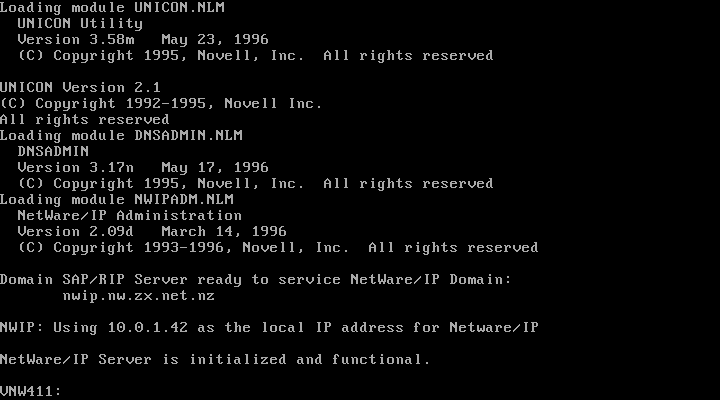
NetWare/IP is now initialized and functional! All done!
I went and checked my AUTOEXEC.NCF and sure enough I had load ipxrtr routing=none. I changed it to just load ipxrtr and restarted the server (down, exit, server)
DNS Setup
Over on the public DNS servers for zx.net.nz I've added an NS record for nw.zx.net.nz pointed at the private IP address of my NetWare Server, VNW411. This will work for some stuff but won't work for recursive lookups. I could have put my public IP in and forwarded the DNS ports but I'd really rather not expose 25 year old network software to the public internet.
On my LAN I run BIND9 as my local DNS server. Any queries it can't answer it fowards on to my router which sends them to my ISP, etc. I've configured my BIND9 instance as a secondary server for the zone owned by the NetWare DNS server (nw.zx.net.nz.):
            zone "nw.zx.net.nz" {
                type slave;
                masters { 10.0.1.42; };
                file "/var/lib/bind/db.nw.zx.net.nz";
            };
This makes the DNS zone owned by NetWare visible to everything on my LAN without needing to go out to the internet, without needing to change my DHCP server configuration or manually set the DNS servers anywhere.
Next Steps
Now that NetWare/IP is setup its time to try it out by installing a client! I tested it out with Client32 v2.11 in a Windows 3.11 VM.
Disclaimer & Comments
I'm not a netware expert, don't have any of those fancy novell certifications and have never administred a netware network; I've just played with it at home occasionally since 2004 or so. Email me if you've got any suggestions or corrections for this page or any extra information you think is worth including here. My address is david at this websites domain name (without the www bit of course).